There’s a specific kind of neck pain that builds so slowly you don’t notice it happening.
It starts as a slight stiffness at the end of a long day — the kind you attribute to stress, or bad sleep, or just sitting too long. Then it becomes a tension that’s there when you wake up, that loosens through the morning but returns by early afternoon. Then you start rolling your head to the side instinctively during calls, or pressing your fingers into the base of your skull while you think.
In most home office setups, the cause isn’t stress or sleep or how long you sit. It’s where your eyes are pointing. When a monitor sits too low — which is the default for most desk setups, where a monitor sits directly on the desk surface — you spend the day with your chin angled slightly downward. Over hours, that position loads the muscles at the back of your neck. Over months, it compounds.
A monitor stand raises the screen to where your eyes naturally rest, so your head stays neutral. That’s the whole mechanism. It’s not complicated, but the difference in how your neck and upper back feel after two weeks is significant enough that it surprises most people who try it.
This guide covers why monitor height matters, how to find the correct position for your setup, which type of monitor stand to choose, and what the difference between a riser and a monitor arm actually means in practice.
— Daniel Shaw, 7 years working from home, one persistent neck tension that disappeared within two weeks of raising my monitor
Key Takeaways
- The top of your monitor screen should sit at or slightly below eye level — for most people, this requires raising the monitor 3 to 6 inches above the desk surface
- According to OSHA ergonomic guidelines, monitors placed too low or too high are a primary contributor to neck and upper back musculoskeletal strain in office workers
- A monitor riser for desk use is the simplest solution — fixed height, stable, often includes storage underneath
- An adjustable monitor stand or monitor arm offers height and angle flexibility, better for people who move frequently between sitting and standing
- A monitor stand with drawer or storage underneath recovers desk surface area — moving the monitor up also clears the space below it
Correct Monitor Height: The Number That Actually Matters

Before buying anything, find out whether you actually need to raise your monitor — and if so, by how much.
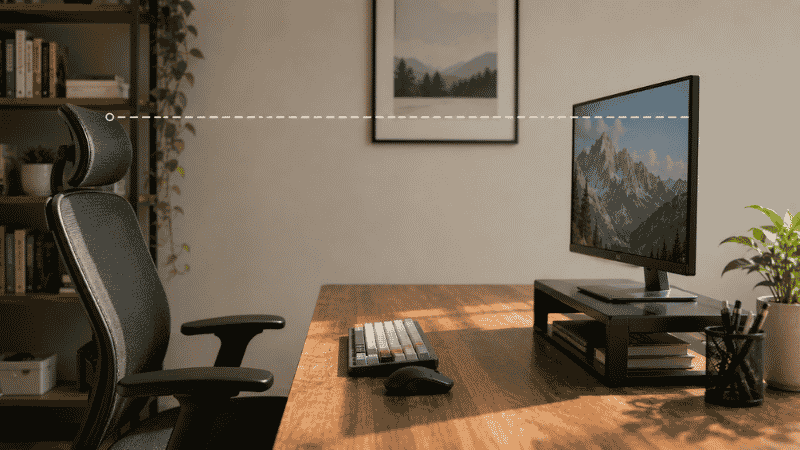
Sit in your normal working position. Look straight ahead with your eyes relaxed. Notice where your gaze lands naturally. Now look at your monitor: is the top of the screen at or slightly below that natural eye line? Or is it several inches below, requiring you to angle your chin down to see the center of the screen?
The ergonomic target: the top edge of the monitor screen should sit at or just below eye level. The center of the screen ends up slightly below eye level, which is where the eyes rest most comfortably for extended reading.
Most monitors on desk surfaces sit with the top of the screen at roughly desk height plus the monitor’s own height — typically landing 8 to 15 inches below where it should be for the average seated adult. The gap varies by monitor size, desk height, and chair height, but the majority of home office monitors are too low.
The quick measurement: sit in your normal chair at your normal posture. Have someone measure the distance from the floor to your eye level. Then measure from the floor to the top of your current monitor screen. The difference is roughly how much you need to raise the monitor.
For most people, this is 3 to 6 inches. That’s the range a standard monitor riser covers.
Monitor Riser for Desk: The Simplest Solution That Works for Most People
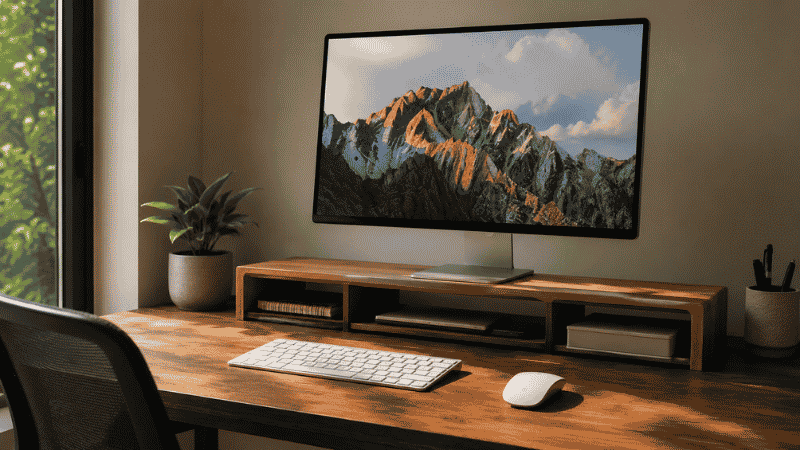
A monitor riser is a fixed-height platform that sits on the desk and raises the monitor to a better position. No moving parts, no adjustment mechanisms, no installation. You put it on the desk, you put the monitor on it, you’re done.
The reason monitor risers are so popular: they solve the problem for the majority of people without any complexity. If you sit at a consistent height, if your monitor stays in one place, and if you need to raise it somewhere between 3 and 6 inches, a riser does exactly that.
The desk space underneath is one of the less-discussed benefits. A monitor riser creates a shelf — typically 12 to 16 inches wide and 4 to 6 inches tall — under the monitor. That space fits a keyboard when pushed back, a small external drive, notebooks, a charging cable coil. It turns a previously wasted area into useful storage without adding any footprint to your desk. → More on using every inch of desk surface effectively.
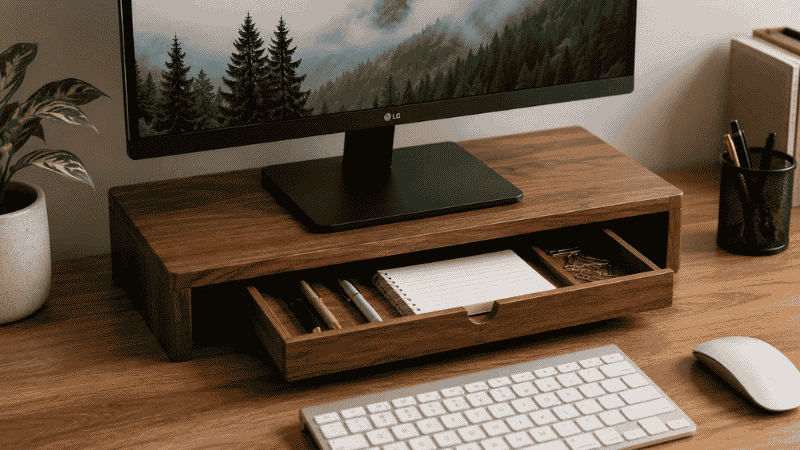
Monitor Stand with Drawer or Storage
A step up from a basic riser: monitor stands with built-in drawers or open shelving underneath. These provide the same height increase with the addition of organized storage — typically one or two shallow drawers for small accessories, or open compartments for a keyboard, phone, and notebooks.
The practical benefit is significant for desks without drawers. If your desk surface is your only flat storage space, a monitor stand with drawer essentially gives you a small built-in desk drawer at no additional footprint cost.
What to check: the internal drawer dimensions. Many are shallower than they look in photos — measure against the specific items you want to store before ordering.
Wooden Monitor Stand
Bamboo and wood monitor stands have become popular for their aesthetic — they blend with natural desk surfaces better than black plastic or metal mesh. Functionally they’re equivalent to standard risers, with the same fixed-height limitation.
One practical note: wood and bamboo risers are usually slightly less deep than plastic alternatives, which means less clearance underneath for a keyboard. Check the clearance dimensions if keyboard storage under the riser is part of your plan.
Adjustable Monitor Stand: When You Need More Flexibility
Fixed risers work when your setup is stable. If you alternate between sitting and standing, if multiple people share the desk, or if you haven’t found the exact height that works for you yet, an adjustable monitor stand lets you dial in the position rather than commit to one height.
Adjustable stands vary widely in how they adjust:
- Stackable risers: Simple platforms with removable height sections. Low cost, less precise, but adequate for fixed setups where you just want to try different heights before committing
- Gas spring arms: The monitor floats on a spring-loaded arm that moves smoothly with one hand. Best-in-class flexibility — height, tilt, and horizontal position all adjustable in seconds. Higher cost, requires either desk clamp or grommet mounting
- Articulating stands: A middle ground — more adjustment range than a fixed riser, less flexibility than a gas spring arm. Good for most home offices that want occasional adjustment without the full commitment of an arm mount
Editor’s note: The gas spring monitor arm is the ergonomic gold standard for good reason — it makes adjusting monitor position effortless, which means people actually adjust it rather than leaving it at a suboptimal position for months. The cost is higher, but if you spend 6+ hours daily at the screen, it’s worth evaluating seriously.
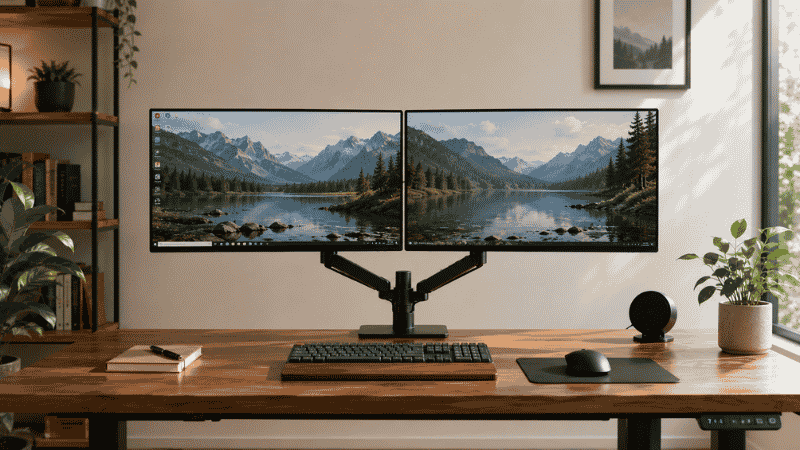
Dual Monitor Stand: Setting Up Two Screens Without the Chaos
Two monitors on a desk without a stand is an organizational problem as much as an ergonomic one. Each monitor sits at a different height depending on its own stand, the screens are at different angles, and the space between and around them is difficult to use.
A dual monitor stand — whether a riser that accommodates two screens or an arm with two mounts — solves both problems. Both screens reach consistent height. The area underneath opens up. Cable routing becomes cleaner because both monitors’ cables originate from the same mount point.
Two configuration options:
Dual monitor riser: A wider version of a standard riser that supports two monitors side by side. Fixed height, simpler, lower cost. Works well for monitors of similar size that will stay at the same height.
Dual monitor arm: Two independent mounts on a single desk clamp or pole. Each screen adjusts independently in height, tilt, and angle. The most flexible option for dual setups — particularly useful if your two monitors are different sizes, or if you want to angle them differently (one straight-on, one angled).
One measurement to confirm before buying a dual stand: the combined width of both monitors plus any bezels. A riser that’s too narrow will have the monitors crowding together or overhanging the edges.
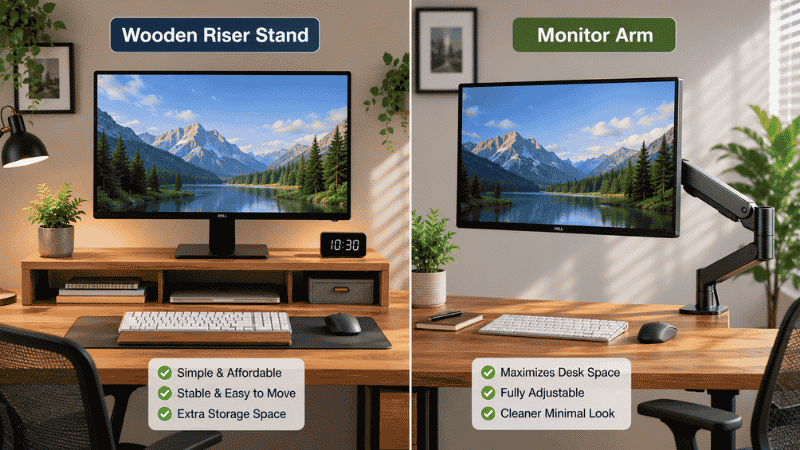
Monitor Stand vs Monitor Arm: Which One Is Right for You
This is the question most people have when they start researching, and the answer depends on two things: how often you need to adjust, and whether you’re willing to clamp or mount something to your desk.
Choose a monitor stand (riser) if:
- You sit at a consistent height and the monitor stays in one position
- You want the simplest possible solution with no installation
- You want storage space underneath the monitor
- Your desk material or thickness doesn’t work with clamps
- Budget is a consideration — risers are significantly less expensive than arms
Choose a monitor arm if:
- You alternate between sitting and standing heights
- You want to push the monitor completely out of the way when not in use
- You want to pull the monitor closer for detailed work and push it back for general use
- Multiple people use the same desk at different heights
- You want to free up the full desk surface under and around the monitor
The monitor arm requires either a desk clamp (attaches to desk edge, no drilling) or a grommet mount (goes through a hole in the desk). Check your desk edge thickness compatibility before buying — most clamps work on desks 1 to 3 inches thick, but some thick or frameless desks fall outside that range.
What to Look for in a Monitor Stand for Your Desk
Four things to check before ordering:
Height. Does it raise your monitor to the correct position? Use the measurement from earlier — your eye level minus current monitor top height. Most standard risers provide 3.5 to 6 inches of lift. Adjustable stands can go higher.
Weight capacity. Most monitors weigh 10 to 20 lbs. Check that the stand’s stated weight limit exceeds your monitor’s weight with some margin. For risers, this is rarely an issue. For arms, the weight limit affects how smoothly the gas spring operates.
Depth. The stand platform needs to be at least as deep as your monitor’s base. A stand that’s too shallow will have the monitor overhanging, which creates instability. Measure your monitor’s base depth before ordering.
Under-clearance (if you’re using keyboard storage). If you want to slide your keyboard under the monitor stand when not in use, the internal height clearance needs to fit your keyboard’s height. Most keyboards are 1.5 to 2 inches tall — check this against the stand’s listed clearance.
Setting Up Your Monitor Stand: What to Expect
For a fixed riser: place it on the desk, set the monitor on top, reconnect cables. Takes five minutes. The adjustment is purely in the initial positioning — slide the riser forward or back to place the monitor at the right viewing distance (arm’s length, roughly 20 to 28 inches from your face).
For a monitor arm: the clamp attaches to the desk edge, the arm mounts to the clamp, and the monitor attaches to the arm via a VESA mounting plate. Most monitors have VESA mounting holes on the back (75mm or 100mm pattern). Check your monitor’s specs before buying an arm — some budget monitors don’t have VESA compatibility and require an adapter.
After setup, the first calibration: sit in your normal position and adjust the monitor height so the top of the screen is at or just below eye level. Tilt the screen back 10 to 20 degrees so you’re looking slightly down at the center — this is the recommended viewing angle for extended screen use. Most stands and arms allow tilt adjustment with a simple knob.
Give it a week. The new head position may feel slightly unusual initially if you’ve been looking down at your screen for months. That adjustment period is normal and usually brief.
If You Only Have 10 Minutes to Improve Your Monitor Position Right Now
Before buying anything, try this: stack two large books under your monitor and sit in your normal position. Does the neck tension reduce? Does the top of the screen land at or near your eye level?
If yes — a monitor riser will give you the same result permanently, at the correct height, with storage underneath.
If the book stack helps but doesn’t quite reach the right height, measure the total stack height. That’s your target lift number for choosing a riser or adjustable stand.
If the book stack doesn’t seem to change anything, the issue may be monitor distance or tilt rather than height. Try pulling the monitor closer (or pushing it further) before concluding you need more height.
Frequently Asked Questions
Do I need a monitor stand?
If the top of your monitor screen is more than an inch or two below your eye level when sitting normally, yes — raising it will reduce neck and upper back strain over time. If your monitor already sits at eye level (common with larger monitors on built-in stands with height adjustment), you may not need an additional stand. The book-stack test is the fastest way to find out.
What is the correct monitor height?
The top edge of the monitor should be at or just below eye level when you’re sitting in your normal working position with good posture. The center of the screen ends up slightly below eye level, which is the recommended viewing angle. For most people at a standard desk, this requires raising the monitor 3 to 6 inches above the desk surface.
Monitor arm vs monitor stand — which is better?
Neither is universally better — they solve different problems. A monitor stand (riser) is simpler, less expensive, and often includes storage underneath. A monitor arm offers full adjustability in height, depth, and angle, and frees up the desk surface completely. If you sit at a consistent height and don’t need to move the monitor often, a riser is probably the right choice. If you alternate positions or want maximum flexibility, an arm is worth the higher cost.
What size monitor stand do I need?
The stand platform should be at least as wide and deep as your monitor’s base. For most monitors up to 27 inches, a platform of 15 to 20 inches wide and 10 to 12 inches deep is sufficient. Larger monitors or dual setups need wider platforms — measure your monitor base before ordering. For arms, check VESA compatibility (75mm or 100mm pattern) rather than platform size.
Can I put a monitor stand on a glass desk?
A fixed riser can sit on a glass desk — the weight is distributed across the platform surface, not concentrated at an edge. Monitor arms with clamp mounts are less compatible with glass desks because the clamp can crack the glass edge. Some arms offer a freestanding base or grommet mount as alternatives for glass surfaces. Check the manufacturer’s compatibility notes for glass desk use specifically.
How much weight can a monitor stand hold?
Solid risers (fixed platform style) typically support 30 to 50 lbs — more than enough for any standard monitor. Monitor arms have more variation: budget arms often support 10 to 15 lbs, mid-range arms 17 to 22 lbs, and premium arms 20 lbs and above. Check your monitor’s weight against the arm’s stated capacity — operating near the limit affects how smoothly the gas spring adjusts.
The Right Height Changes Everything
A monitor stand is a small adjustment with a disproportionate effect on how your neck and upper back feel at the end of a workday. The mechanism is simple: when your head stays neutral instead of angling down, the muscles at the back of your neck stop working constantly to hold it there.
Most people notice the difference within a few days. The discomfort that built up gradually — that low-level neck tension you’ve been working around — tends to reduce at roughly the same pace.
Start with the book-stack test. If it helps, find a riser at the height that works. The rest of the desk organization tends to follow from there.
More from WorkDeskLab:
- How to Set Up a Home Office That Actually Works
- Home Office Layout — How to Arrange Your Workspace for Focus
- Desk Organization Ideas That Actually Stick
- Desk Cable Management — Hide Every Wire Without Drilling
References: OSHA — Computer Workstations eTool: Monitors — Display Screen Positioning (osha.gov) · Cornell University Human Factors and Ergonomics Research — Monitor height and viewing angle guidelines for neutral neck positioning (ergo.human.cornell.edu)